Built for seasoned climbers looking to push strength, skill, and endurance.
Disclaimer Notice
Please note that sports injuries can occur for any reason and at any time, regardless of careful warm-up and correct training practices. Neil Gresham and HeadRrush Technologies cannot be held responsible. You train at your own risk. It is advisable to show your training program to a doctor if you have a medical condition.
This is a generic training program. If you have selected the correct plan then the workload will be geared approximately to a climber of your level. However, due to theeffect of individuality, some will find the workload to be slightly too demanding, whereasothers may find the plan too easy. It is your responsibility to fine-tune the plan so that it is right for you in terms of the overall workload.
It is also your responsibility to fine-tune each session (select appropriate climbs, gradesetc).
If you are not confident to train then seek advice from a coach or apply for a personalized training plan from Neil at www.neilgresham.com
Phase 1: Base Conditioning
Initial Steps
You don’t need to read everything before you start training, just take 4 simple steps:
Have a quick look at the overview plan at the start of your training plan. This will show you how the training is divided into phases.
Then have a quick look through the weekly plans, which follow straight afterwards. These will show you how each week of training is structured for each phase.
Then go back to Phase 1 (Base Phase) and locate the detailed session plans, which you’ll need for each day. These are all located straight after the weekly plans and are grouped as follows:
Warm-ups
Strength sessions
Endurance sessions
Conditioning sessions
Skills sessions
Home training (general advice on hangboarding)
Take 2 rest days and start training!
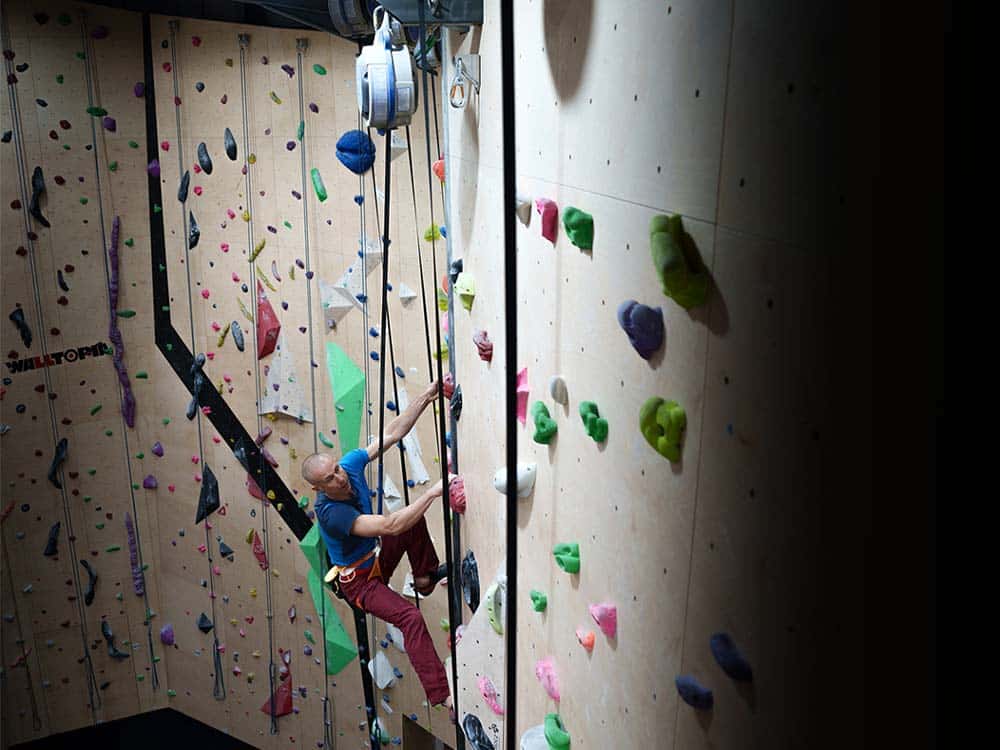
Base Conditioning Videos
Auto Belay Safety
Auto belays are incredibly simple and fun to use, but you still need to have your wits about you at all times.Don't forget about the safety fundamentals.
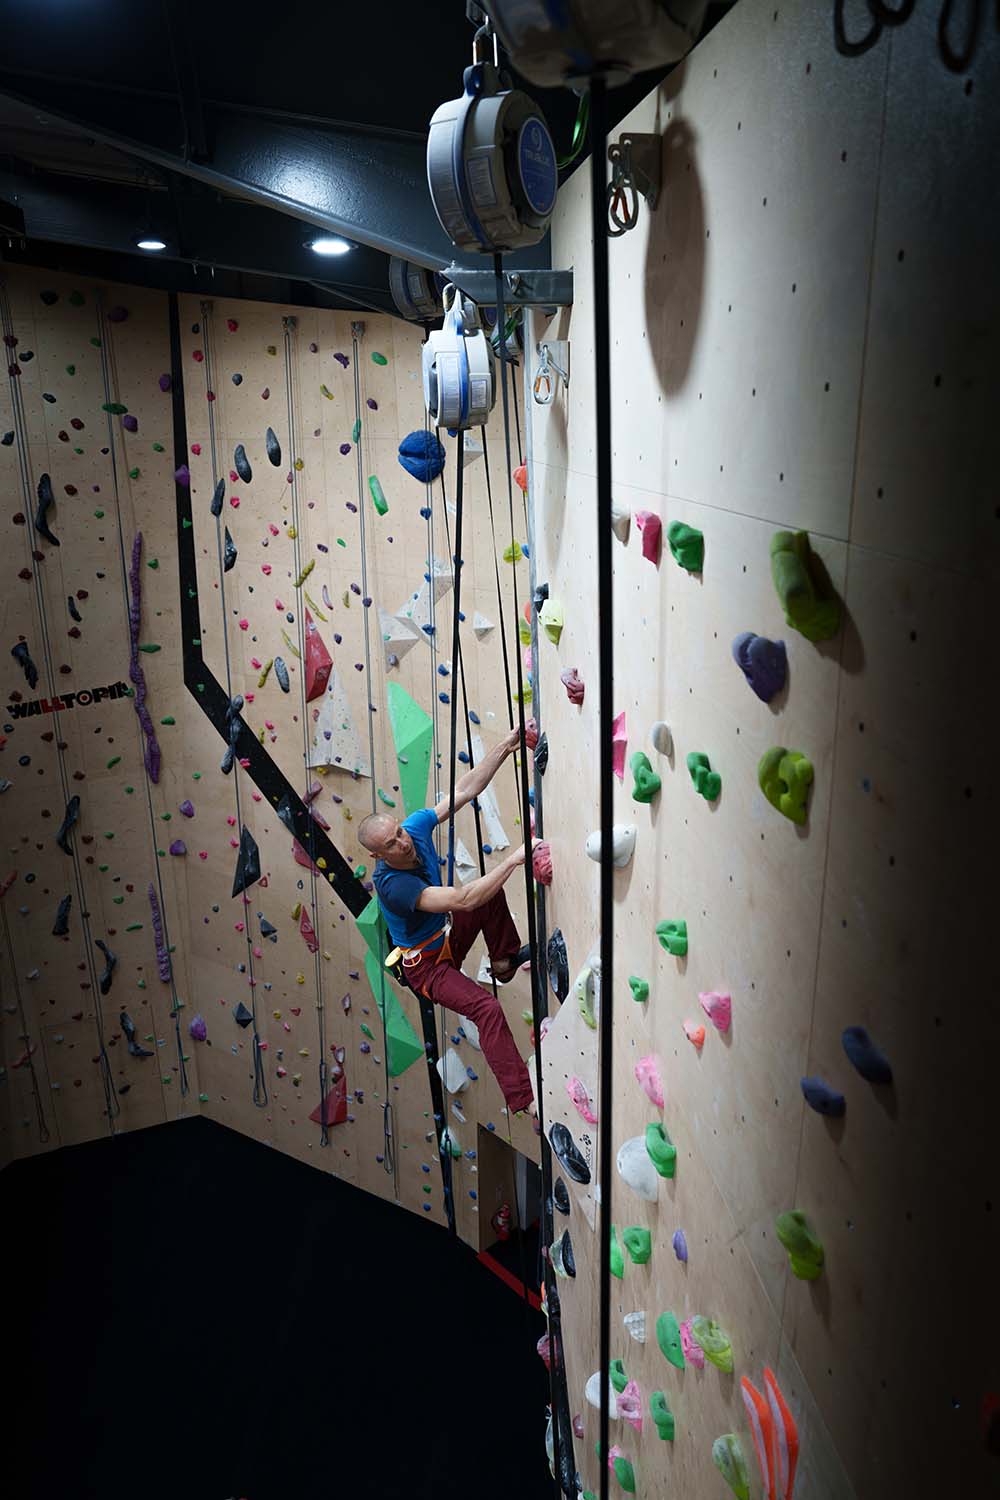
Climbing with Style
Auto belays provide a perfect opportunity to work on style. No having to stop and clip, so you can really get into your flow.
Planning Your Climb
When resting in between climbs during an auto belay session, you can use the time to read the sequence and plan the next route.
Phase 2: Strength Sessions
Phase 2: Strength Sessions
Safety Notes
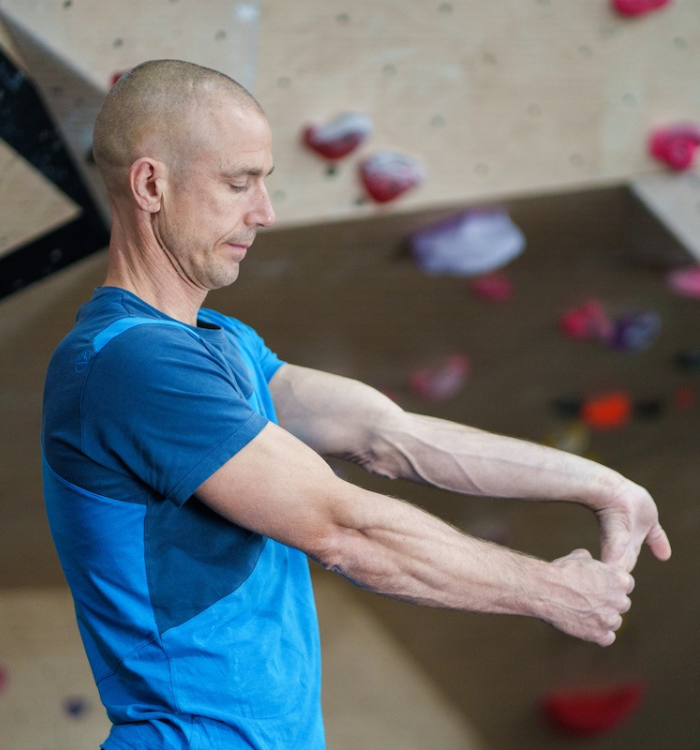
A thorough warm-up is crucial. Warm-up plans are provided.
Be aware of form when training.
Don’t attempt a session if feeling overly stressed or fatigued. Rest or do an easier, endurance-based session instead.
In project sessions, be wary of trying the same move repeatedly for too long. Alternate between different moves when working a project. Be prepared to call time and move on, even if you feel close.Certain holds and moves represent a higher potential risk for injuries, eg: sharp pockets, ‘micro-edges’ slopers (if slapping the same one repeatedly) or shoulder-intense moves such as press-moves when the arms are spread wide. Don’t avoid these holds or moves but treat them with caution: ease into the move by testing the load, don’t work the move for too long. Be ready to let go suddenly.
Technique Tips
Refine your beta -- Try out different sequences, make every attempt to grip handholds the best way and try alternative foot-sequences.
Dynamic movement -- Focus on generating momentum (eg more push from the feet or swing from the hips).
Gripping -- Experiment with different methods of gripping the holds, half-crimp, full-crimp, open, use of the thumb etc.
Accuracy -- Practice catching holds first time, in exactly the right place during dynamic moves.
Core tension -- Practice tensing your core and pressing your toes into small footholds.
‘Front-on versus side-on' -- Sometimes it’s better to twist in and use the outside edge of your foot or drop-knee and other times it’s better to climb with hips parallel. Try out both options.
Safety Notes
A thorough warm-up is crucial. Warm-up plans are provided.
Be aware of form when training.
Don’t attempt a session if feeling overly stressed or fatigued. Rest or do an easier, endurance-based session instead.
In project sessions, be wary of trying the same move repeatedly for too long. Alternate between different moves when working a project. Be prepared to call time and move on, even if you feel close.Certain holds and moves represent a higher potential risk for injuries, eg: sharp pockets, ‘micro-edges’ slopers (if slapping the same one repeatedly) or shoulder-intense moves such as press-moves when the arms are spread wide. Don’t avoid these holds or moves but treat them with caution: ease into the move by testing the load, don’t work the move for too long. Be ready to let go suddenly.
Technique Tips
Refine your beta -- Try out different sequences, make every attempt to grip handholds the best way and try alternative foot-sequences.
Dynamic movement -- Focus on generating momentum (eg more push from the feet or swing from the hips).
Gripping -- Experiment with different methods of gripping the holds, half-crimp, full-crimp, open, use of the thumb etc.
Accuracy -- Practice catching holds first time, in exactly the right place during dynamic moves.
Core tension -- Practice tensing your core and pressing your toes into small footholds.
‘Front-on versus side-on' -- Sometimes it’s better to twist in and use the outside edge of your foot or drop-knee and other times it’s better to climb with hips parallel. Try out both options.
Mind Drills for Strength Exercises
Use visualisation in your rest periods. Imagine yourself powering up the route in control. Imagine how each hold feels, the friction on your skin the tension in your muscles and tendons, the pressure you put on your feet etc. Don’t imagine it being too easy – it should feel hard but you still do it!
Belief – a route problem can feel impossible when you’re failing on it, and we’re often too quick to tell ourselves we’re not strong enough. Then a micro-adjustment to the beta will unlock things. Keep an open mind. You can do it!
Body language - hold your head up and talk to yourself positively in a way that makes you feel strong and confident.
Strength Training Videos
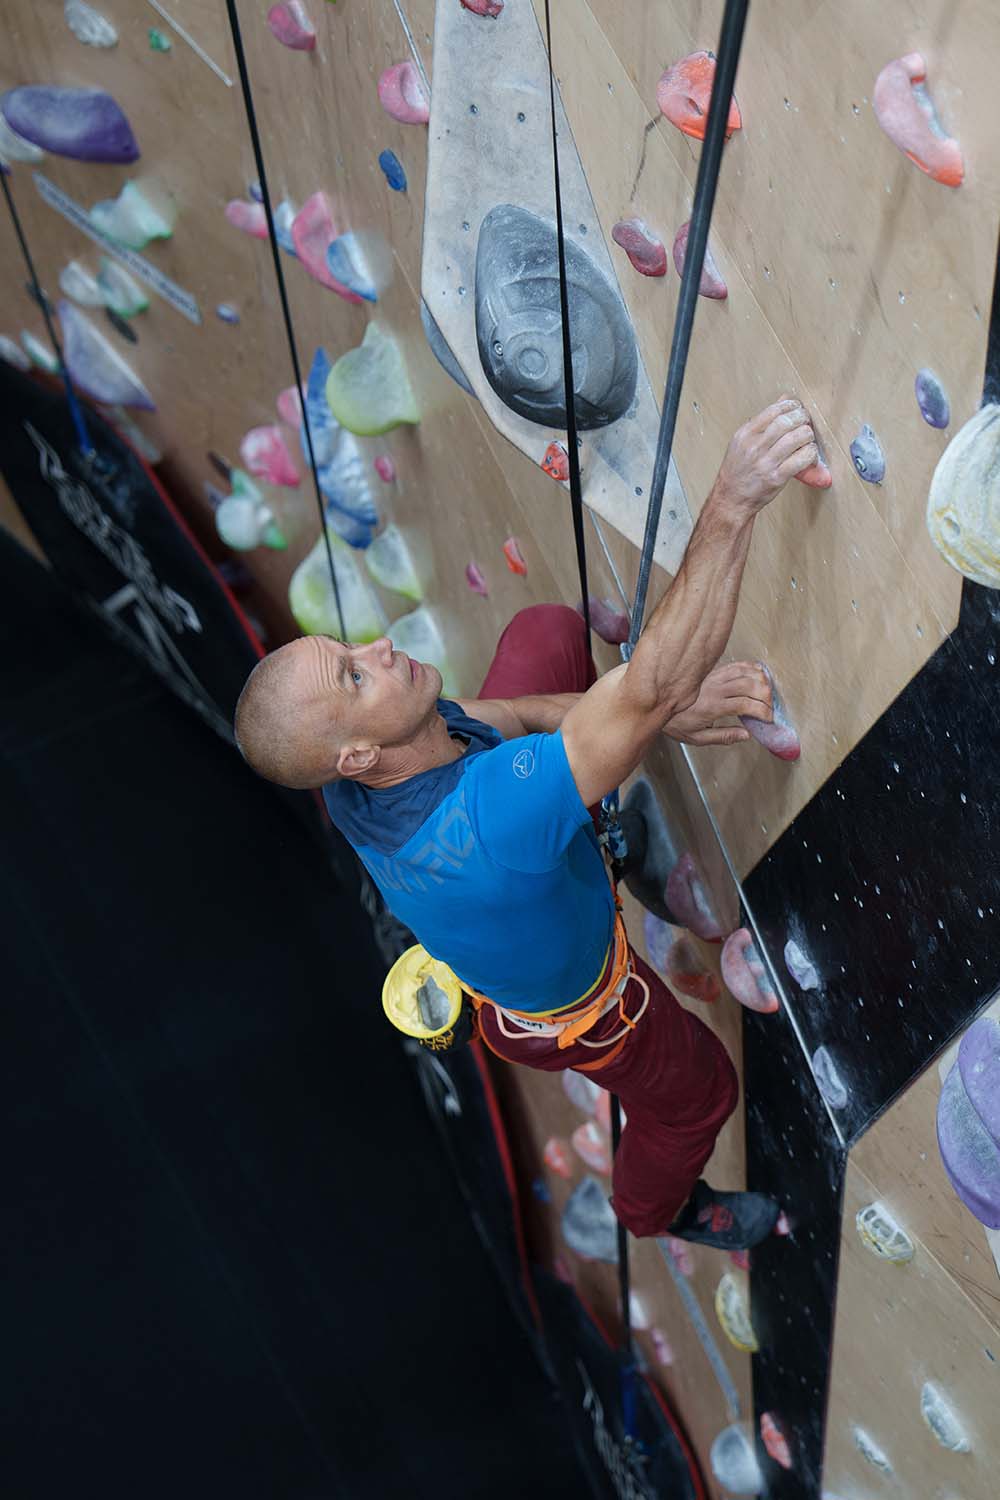
How to Project on Auto Belay
Some climbers are unsure how to go about working a project on auto belay, or even if it's possible to do so. In this video, Neil explains the method.
Focus on Footwork
Footwork is usually one of the firstclimbing techniques to deteriorate when we start to get pumped.Neil explains how to practice this important skill.
Phase 3: Endurance Sessions
Tactical Tips for Endurance Sessions
When performing multiple laps on auto belay routes, ALWAYS SAFETY-CHECK YOURSELF before each climb. In long-endurance sessions you will need to climb routes several times consecutively.
Lowering off -- In some cases, you’ll be advised to lower off (as opposed to climbing down). In this case, on reaching the ground, simply climb again immediately.
Downclimbing -- In some sessions you will be advised to climb down, either by following an easier route or ‘rainbowing’ (using any colour) if an easier route isn’t available. On reaching the ground, don’t step off the wall and simply climb back up again.
Technique Tips
Pay particular attention to maintaining form towards the end of the session as fatigue starts to kick in.
Focus on making accurate foot placements when pumped and maintaining smooth, fluid, movement.
Practice moving dynamically when fatigued.
Be aware of pace and try to find the middle ground - too fast will mean that you rush and make mistakes, whereas too slow will be inefficient.
Breathe deeply and regularly, especially when resting.
Simulate clipping by stopping every third or fourth hand-move and taking a hand off the wall for 3 or 4 seconds.
Route reading – plan your sequence first. Identify all the holds and plan the hand sequence. Then make a note of the footholds and make a loose and flexible plan for how/when they’ll be used. After climbing the problem, review your work to see if you guessed correctly.
Feedback - If a climb doesn’t go well then analyse your mistakes and learn from them.
Mind Drills for Endurance Exercises
Practice clearing your mind before going for each climb. Focus on executing each move and staying in the present.
Explore the optimum mind-set for hard endurance climbing. You need to be relaxed, yet at the same time, aggressively determined.
Enjoy the sensation of being under stress, as this is when we learn the most. Teach yourself to be calm when the pump kicks in.
Endurance Videos
Endurance Training
When training endurance on auto belays and doing multiple laps on routes, climbers often ask whether it's better to lower down or climb back down to the ground. Let's have a look.
Rest and Recovery
The ability to rest and recover on steep terrain is a skill as well as a component of fitness, and auto belays provide a fantastic playground to practice.
Adjusting Your Pacing
Climbers often ask whether there's such a thing as the ideal climbing pace. The more you practice, the more you'll develop an instinct for adjusting your pace to the terrain that you're climbing on.
Resources
Resources
Follow Us
Follow Head Rush Technologies to keep up with the latest TRUBLUE news.
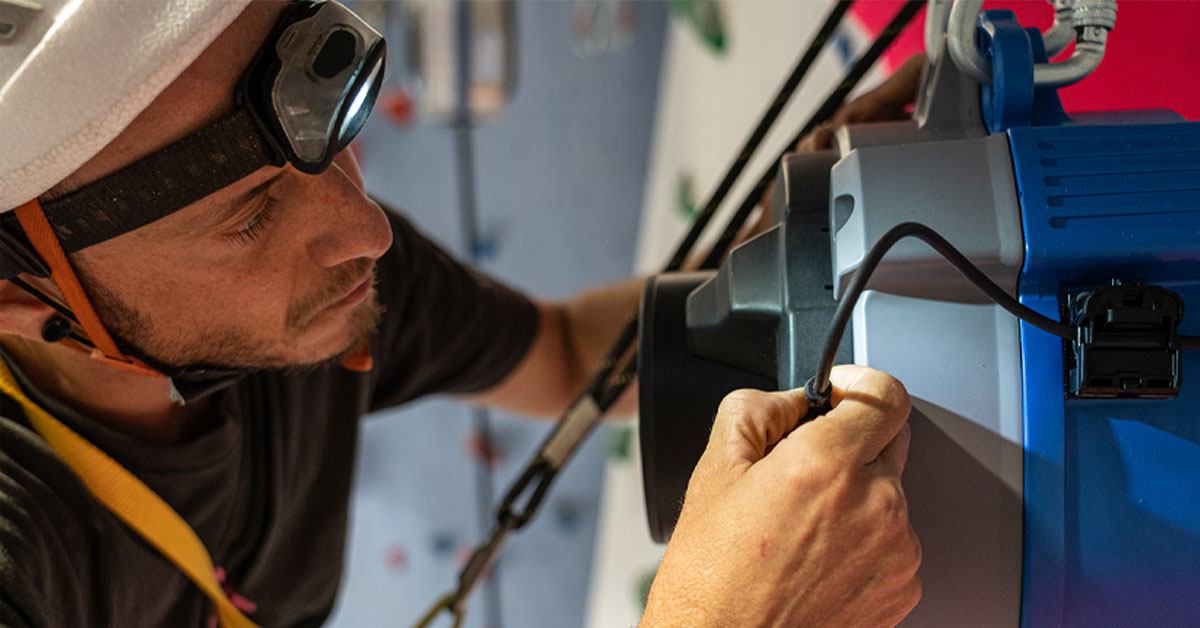
How Auto Belays Work
Learn more about the innovative technology behind your favorite auto belays.
Next Steps
Take your training to the next level with a custom plan from Neil Gresham.
Follow Us
Follow Head Rush Technologies to keep up with the latest TRUBLUE news.
How Auto Belays Work
Learn more about the innovative technology behind your favorite auto belays.
Next Steps
Take your training to the next level with a custom plan from Neil Gresham.